In this tutorial I will show you how you can build an alumni website for school/college using the WordPress platform.
To implement this idea, you will need to install the following plugins.
Video Tutorial
1. Install the Addon
You can watch these video tutorials to install and do the basic setup of the WP eMember plugin.
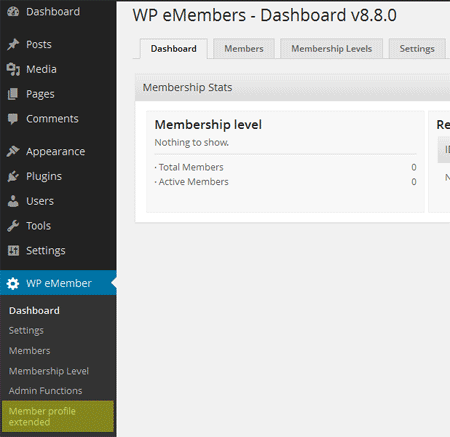
The Profile Display Extended Addon is free for users who have previously purchased the eMember plugin. Download the ZIP file and proceed to install it using the WP plugin uploader interface. Once the Profile Display Extended AddOn is installed and activated, you can find its interface at the bottom of the WP eMember plugin menu.
2. Create a User Profile Page
Create a new page and call it User Profile or something similar – this is where each member’s detailed profile will be located. Just name the page and publish it, no need to enter any info in the text box. Go back to the Member Profile addon interface. Scroll down to General Settings, enter the URL of the page you’ve just created, and click Save.
After this, scroll to Detailed Profile Page Fields and choose any fields you want to display on the User Profile page. These can include name, email, phone, address, etc. Click Generate Shortcode and copy the code. Go back to the User Profile page you’ve created, paste the shortcode in the text box and click Update.
3. Create a List of Alumni
Besides individual member profiles, a good alumni site will also need a list of all the members, which people can browse to easily find each other. To create one of these, go to the addon’s interface once again and scroll down to User Profile Summary List Fields. Check what kinds of information you want to display next to each member’s name in the alumni list. This will generally include a lot fewer details than the complete profile. Click Generate Shortcode and copy the code. Go to Pages, Add New, and create a page called Alumni List, or use a similar title. Insert the latest shortcode you created into the text box and click Publish.
4. Add a New Membership Level
At this point you are done configuring the Member Profile Extended AddOn, and can move on to update a couple of settings in the eMember plugin itself. One of the things you’ll need to do is create a new membership level for the alumni group you are starting. Select Membership Level from the WP eMember plugin menu; then click Add New. Here you can assign the name to the group you are creating, as well as choose a URL to redirect users to when they register. You might want to use either the Profile List or the User Profile URL, both of which you have previously created. Alternatively, you can make a brand new page to greet users and paste its URL in the Redirect After Login field. You can just leave the rest of the settings on this page at default, unless you want to adjust membership expiration setting or limit members’ access to certain areas. After this, scroll to the bottom of the page and click Submit.
Once your membership level is created, you’ll be taken to the summary page of all the membership levels you’ve set up so far. You should remember the Level ID for the group you’ve just created, as you’ll need it in the next step.
5. Configure Other Settings
You might want to mark your alumni group as your default free membership level. To do this, click Settings under WP eMember plugin. Scroll to the General Settings area and check the Allow Free Membership box. In the field below, enter the Level ID for the new membership level you’ve just created. You can scroll through the rest of the settings on this page and see if you want to configure anything else. You’ll probably want to check the box that says “Free Members Must Confirm Email Address” for security reasons. Scroll down and click Update Options.
In order for your User Profile and Alumni List to show up in the site’s menu, click Menus under the Appearance tab. Here you can add the pages to one of your existing menus or create a new menu if your theme allows for it.
You can also adjust other settings, such as configure your registration and login pages, as you normally would when using the eMember plugin.
Leave a Reply