Note: There are a couple of different checkout flows available for the Stripe payment gateway. The recommended setup is the Stripe SCA setup explained here.
Read this page to get a good idea of how the checkout flow works when you use the gateway bundle addon.
After you install the WP Payment Gateway Bundle plugin you will need to configure some Stripe Gateway specific settings in the plugin which you will need to obtain from your Stripe merchant account.
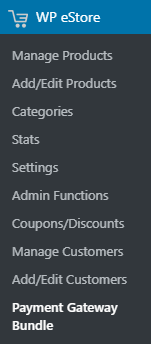
You can find the Stripe specific settings required by the plugin under the “Gateway Settings” tab when you go to the payment gateway bundle plugin’s settings menu. The following screenshot shows how you can access the settings page of this addon:
In order to configure the Stripe portion of the payment gateway bundle you will need to obtain the required details from your Stripe merchant account by following the steps outlined below:
Step 1: Log into your Stripe merchant account and click on the Account Settings menu item (Under Your Account).

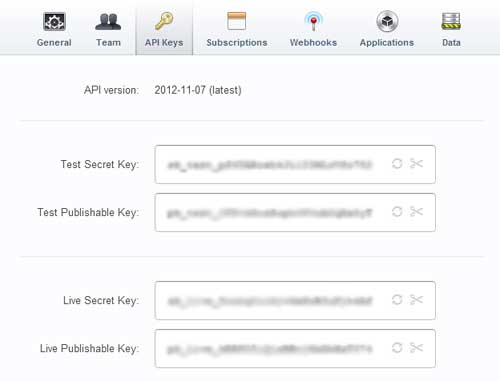
Step 2: Switch to the API Keys tab. Copy the values for the secret key and the publishable key as shown in the figure below.
Step 3: Now from your WordPress administration panel, go to Stripe Settings (under Payment Gateway Bundle->Gateway Settings) and check “Use Stripe Payment Gateway” option.
Step 4: Enter your Secret Key.
Step 5: Enter your Publishable Key.
Step 6: Enter a selector label for Stripe. For example: Stripe Payment (This text will be displayed in the select box in the shopping cart as a checkout option).
Step 7: Copy the Stripe Webhook URL for your site and add it as a webhook endpoint in your Stripe account (Developers -> Webhooks). You should only have one webhook set up for our plugin (remove any other URL that you may have configured previously for our plugin).
You can either choose to be notified of all the events (may increase load on your server) or select the ones that our plugin processes at the moment:
- charge.refunded
- checkout.session.completed
- invoice.payment_succeeded
- customer.subscription.deleted
- invoice.payment_failed
Step 8: Hit the “Update” button at the bottom to save the settings and now your customers can checkout using stripe gateway.
Creating Buy Now Type Buttons For Stripe
If you want to use “Buy Now†type buttons instead of the standard “Add to Cart†buttons then check the following documentation to learn how to create buy now buttons for any payment gateways offered in WP eStore plugin:
Note: We provide technical support for our premium plugins via our customer only support forum