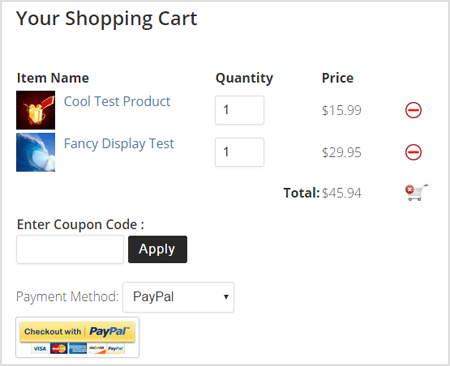
This addon allows you to do shopping cart checkout using Alipay payment gateway.
Installation
You can install this addon the same way you install any WordPress plugin:
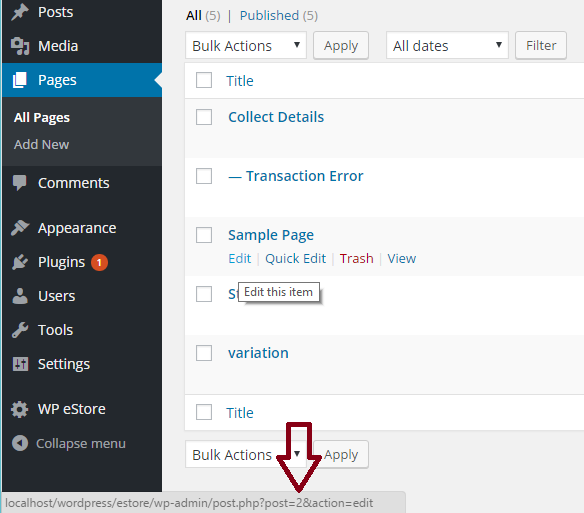
- Go to the Add New plugins screen in your WordPress admin area
- Click the Upload Plugin button
- Browse for the addon file (eStore-alipay-gateway.zip)
- Click Install Now and then activate the plugin