General Description
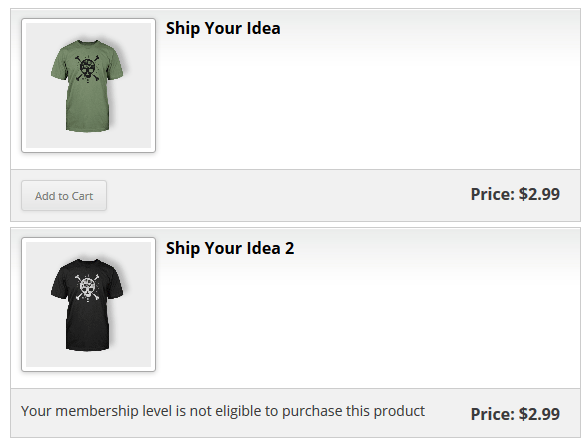
The eStore members only purchase addon prevents non-members from purchasing your eStore products. It allows you to control which membership level users are eligible to purchase a particular product.
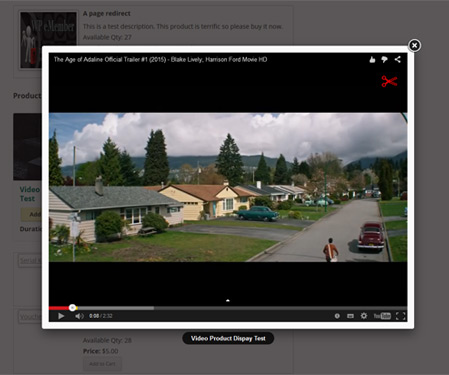
See example screenshot below:
Using the eStore Members Only Purchase Addon
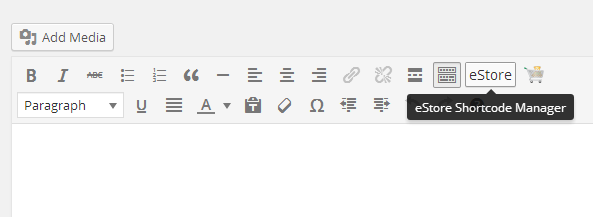
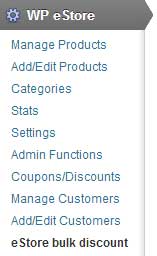
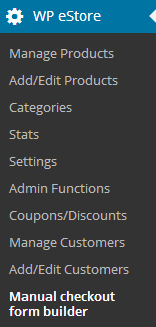
1. Once you have installed the addon the settings menu will appear in the “Add/Edit Products” menu (WP eStore->Add/Edit Products->Members Only Purchase Specific Settings).
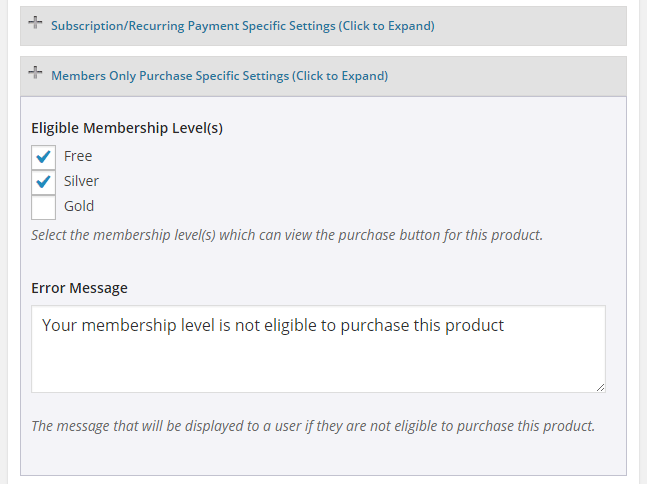
2. Select the membership level(s) which will be able to view the purchase button for this product (If you choose not to apply any restrictions on this product please leave all the boxes unchecked).
3. You can also set a message which will be the displayed to a user without appropriate membership level.