The WP eMember plugin uses membership levels to control access to protected content on the front end of your website. If content is protected by a membership level and a user doesn’t have that level assigned to their eMember record, the content will be hidden from them — even if that user is a WordPress admin.
This is because WordPress admin roles and eMember membership levels are independent systems. To allow your admin user to view all protected content on the front end, you need to create an eMember record for them and assign a membership level with access to all protected content.
Table of Contents
Giving Your WordPress Admin User Access to All Protected Content
Prerequisite: Before following the steps below, make sure you have the WordPress User Role Synchronization feature enabled. This ensures that your WordPress users and eMember members are properly linked.
Follow these four steps to set this up.
Step 1) Create a Dedicated Membership Level
Create a new membership level specifically for your WordPress admin user. Name it something descriptive like Admin Access or Full Access. This level should not be used for regular members.
See: How to Add a Membership Level
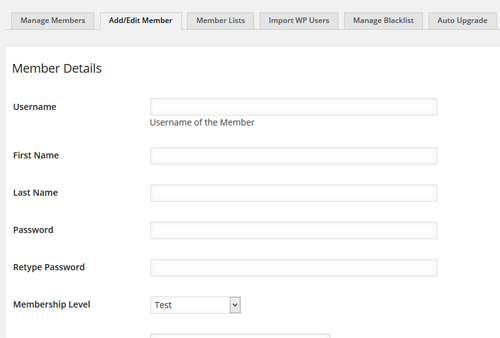
Step 2) Import Your WordPress Admin User
Import your WordPress admin user into eMember and assign them to the membership level you created in Step 1.
See: Import WordPress Users into eMember
Note: Make sure you select the correct admin-dedicated membership level during import. Assigning the admin user to a level shared with regular members may unintentionally expose admin-level access to others.
Step 3) Configure Access for the Admin Membership Level
Edit the Admin Access membership level and grant it access to all of your protected content categories, posts, or pages.
See: Membership Level Configuration
Step 4) Log Out and Log Back In
Log out of WordPress and log back in with your admin account. Your admin user will now be able to view all protected content from the front end of your site.