Stripe Checkout SCA is a simplified method for accepting payments with the Stripe payment gateway. When you enable this option in the payment gateway bundle addon, the payment information is collected on a secure, Stripe-hosted payment page.
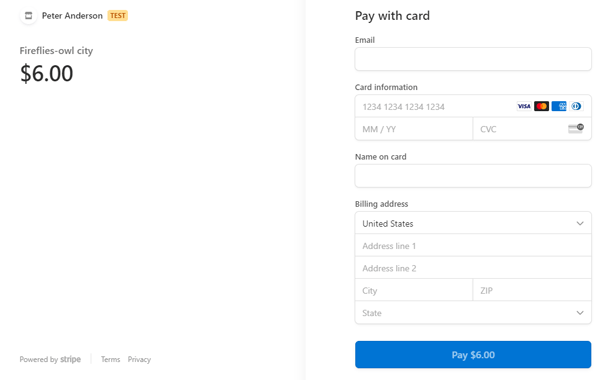
Table of Contents
- Strong Customer Authentication
- Stripe Checkout SCA Setup
- Using Add to Cart Type Buttons with a Shopping Cart
- Creating Buy Now Type Buttons For Stripe Checkout SCA
- Creating Stripe Subscription Type Buttons
- Customizing the Look of the Stripe Subscription Button
- Using Stripe Subscription Button with Fancy Display Template
Strong Customer Authentication
Strong Customer Authentication (SCA), a new rule coming into effect on September 14, 2019, as part of PSD2 regulation in Europe, will require changes to how your European customers authenticate online payments. Card payments will require a different user experience, namely 3D Secure, in order to meet SCA requirements. Transactions that don’t follow the new authentication guidelines may be declined by your customers’ banks.
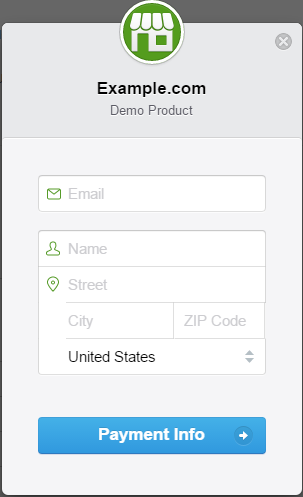
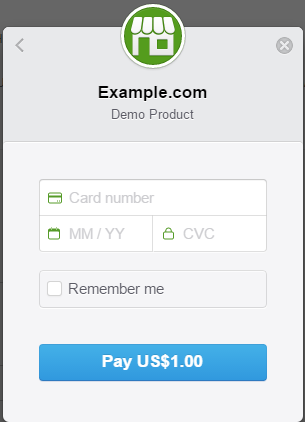
Our Stripe Checkout SCA method supports 3D Secure 2 and users Stripe-hosted checkout flow that automatically handles SCA requirements for you.
Stripe Checkout SCA Setup
After you install the WP Payment Gateway Bundle addon, you will need to configure some Stripe Gateway specific settings in the plugin which you will need to obtain from your Stripe merchant account.
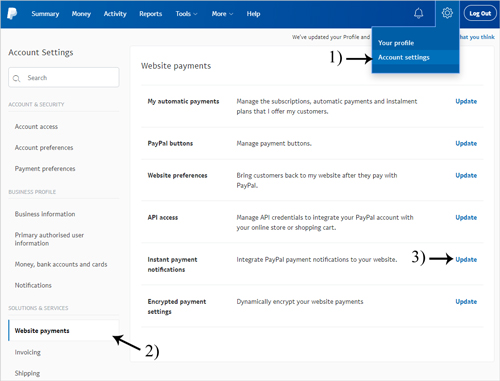
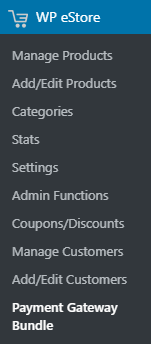
You can find the Stripe Checkout SCA specific settings under the “Gateway Settings” tab when you go to the payment gateway bundle plugin’s settings menu. The following screenshot shows how you can access the settings page of this addon:
In order to configure the Stripe portion of the payment gateway bundle you will need to obtain the required details from your Stripe merchant account by following the steps outlined below:
Step 1: Log into your Stripe merchant account and click on the API Keys menu item (Under Developers).
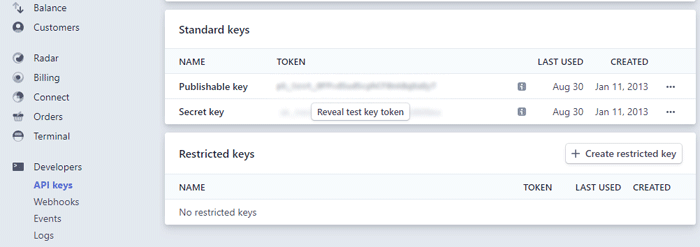
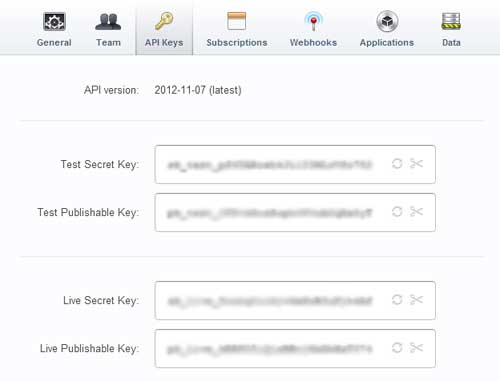
Step 2: Copy the values for the secret key and the publishable key as shown in the figure above.
Step 3: Now from your WordPress administration panel, go to Stripe Checkout SCA Settings (under WP eStore -> Payment Gateway Bundle -> Gateway Settings) and check “Use Stripe Checkout SCA” option.
Step 4: Enter your Test Secret Key.
Step 5: Enter your Test Publishable Key.
Step 6: Enter your Live Secret Key.
Step 7: Enter your Live Publishable Key.
Step 8: Enter a selector label for Stripe Checkout SCA option. For example: Stripe Payment (This text will be displayed in the select box in the shopping cart as a checkout option).
Step 9: Copy the Stripe Webhook URL for your site and add it as a webhook endpoint in your Stripe account (Developers -> Webhooks). You should only have one webhook set up for our plugin (remove any other URL that you may have configured previously for our plugin).
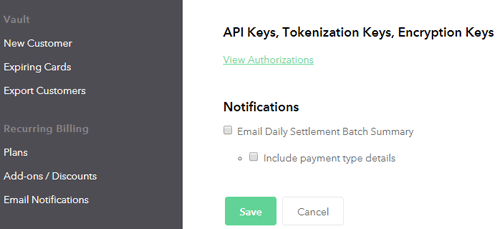
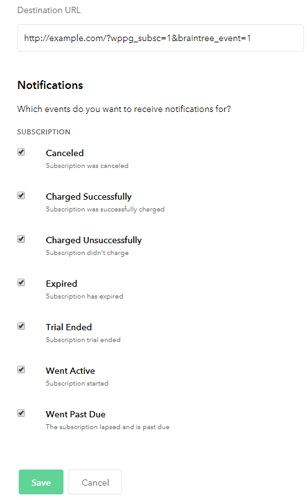
You can either choose to be notified of all the events (may increase load on your server) or select the ones that our plugin processes at the moment:
- charge.refunded
- checkout.session.completed
- checkout.session.async_payment_succeeded
- invoice.payment_succeeded
- customer.subscription.deleted
- invoice.payment_failed
Step 10: Hit the “Update” button at the bottom to save the settings and now your customers can checkout using the stripe payment form.
Once the above setup is complete, you are ready to use the Stripe payment gateway. You can use it with the standard Add to Cart type buttons and a shopping cart. You can also use it with Buy Now and/or Subscription type buttons using this gateway.
The following section has information on how to use Stripe payment gateway with the different types of buttons.
Using Add to Cart Type Buttons with a Shopping Cart
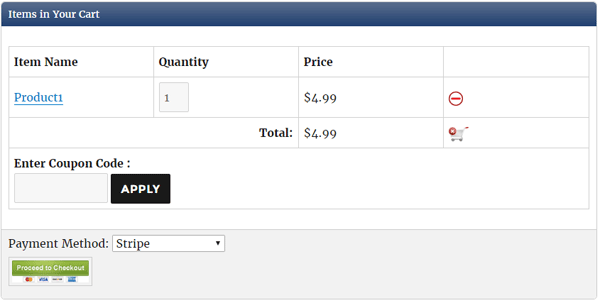
The add to cart type button allows your customers to add a normal product to the shopping cart. Then they can click the checkout option in the cart.
Read the documentation on add to cart type buttons to set it up (if you want to use this type of button).
Creating Buy Now Type Buttons For Stripe Checkout SCA
If you want to use “Buy Now” type buttons instead of the standard “Add to Cart” buttons then use the following shortcode:
[wp_eStore_buy_now_for_specific_gateway id="1" gateway="stripe_co_sca"]
(Replace 1 with your actual eStore product ID).
Also, check the following documentation to learn how to create a buy now type button for any payment gateways offered in WP eStore plugin:
URL/Link for SCA Stripe Buy Now Button
If you want to use an URL/Link instead of a shortcode to create the Buy Now button, then check this feature of WP eStore plugin.
Creating Stripe Subscription Type Buttons
WP eStore Product Configuration for Subscription Product
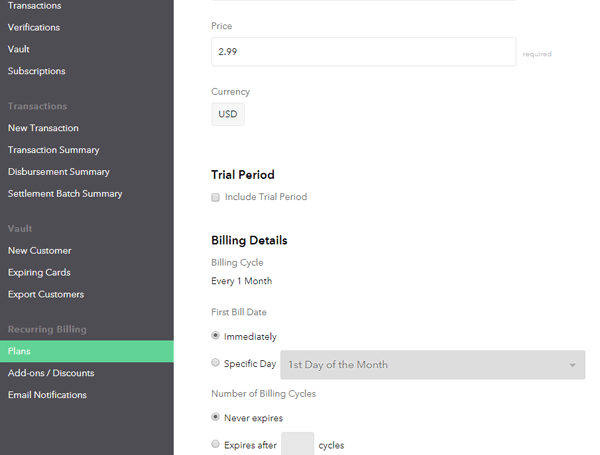
There are a few things you need to be aware of when you are configuring a product for Stripe subscription.
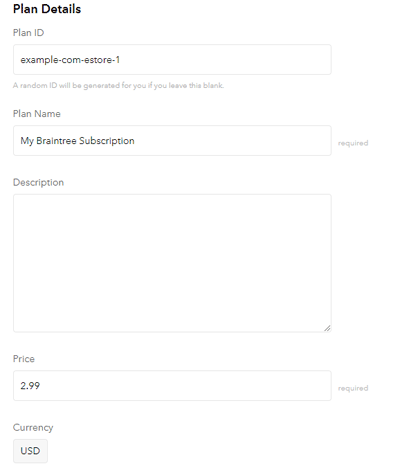
1) No Trial Payment Amount: Stripe only supports Free Trial. So you cannot charge your customer for the trial period. For example: if you wish to offer one month free trial to your users before they are billed on a recurring basis (2.99/month) you can set up like the following,
- Trial Billing Amount: 0
- Trial Billing Period: 1 Month
- Recurring Billing Amount: 2.99
- Recurring Billing Cycle: 1 Month
- Recurring Billing Count: 0

If you do not wish to offer a trial, you should leave the Trial Billing Amount and Trial Billing Period fields empty. For example:
- Trial Billing Amount:
- Trial Billing Period:
- Recurring Billing Amount: 2.99
- Recurring Billing Cycle: 1 Month
- Recurring Billing Count: 0
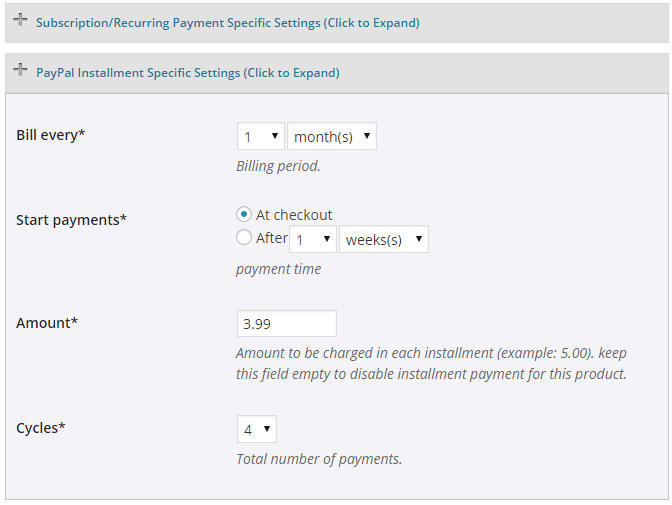
2) Recurring Billing: Our Stripe integration supports recurring payments on a daily, monthly or yearly basis. For example: if you wish to charge your customer 2.99/day until cancelled your setup should look like the following,
- Trial Billing Amount:
- Trial Billing Period:
- Recurring Billing Amount: 2.99
- Recurring Billing Cycle: 1 Day
- Recurring Billing Count: 0
If you wish to charge your customers 2.99 every 7 days for 3 installments your setup should look like the following,
- Trial Billing Amount:
- Trial Billing Period:
- Recurring Billing Amount: 2.99
- Recurring Billing Cycle: 7 Day
- Recurring Billing Count: 3
If you wish to charge your customers 2.99 every/month until cancelled your setup should look like the following,
- Trial Billing Amount:
- Trial Billing Period:
- Recurring Billing Amount: 2.99
- Recurring Billing Cycle: 1 Month
- Recurring Billing Count: 0
If you wish to charge your customers 2.99/month for 6 installments your setup should look like the following,
- Trial Billing Amount:
- Trial Billing Period:
- Recurring Billing Amount: 2.99
- Recurring Billing Cycle: 1 Month
- Recurring Billing Count: 6
If you wish to charge your customers 2.99 every 2 months until cancelled your setup should look like the following,
- Trial Billing Amount:
- Trial Billing Period:
- Recurring Billing Amount: 2.99
- Recurring Billing Cycle: 2 Month
- Recurring Billing Count: 0
3) Reattempt on failure: This checkbox does not have any effect on a Stripe subscription.
4) Editing the subscription amount: Once you make the first transaction of a newly created eStore subscription product, a plan is automatically created in your Stripe account. Stripe doesn’t allow the editing of an existing plan. So if you need to edit the subscription amount after a transaction, create a NEW estore product with the new subscription price.
Shortcode for SCA Stripe Subscription Button
You need to enter the following shortcode in a WordPress Post/Page to create the subscription button. This will allow you to accept recurring payments via Stripe Checkout SCA:
[wp_pg_eStore_subscription_button id="1" gateway="stripe_co_sca_subsc"]
(Replace 1 with your actual eStore product ID)
URL/Link for SCA Stripe Subscription Button
If you want to use an URL/Link instead of a shortcode to create the subscription button, then check this feature of WP eStore plugin.
Customizing the Look of the Stripe Subscription Button
WP eStore plugin allows you to customize all of your subscription buttons by using a custom button image of your choice. If you want to customize the look of your stripe subscription button then read this post.
Using Stripe Subscription Button with Fancy Display Template
You can use the following shortcode to use a fancy display template with the Stripe subscription button:
[wp_eStore_fancy_display id="50" type="3" style="1" gateway="stripe_co_sca_subsc"]
WP eStore product ID of the item is 50 in the above example. You will need to change that value to your actual product ID.